The Snipping Tool is a built-in Windows application that allows you to take screenshots. It has been around since Windows Vista.
– It provides more flexibility than just pressing Print Screen, letting you capture specific parts of the screen, windows, or add delays.
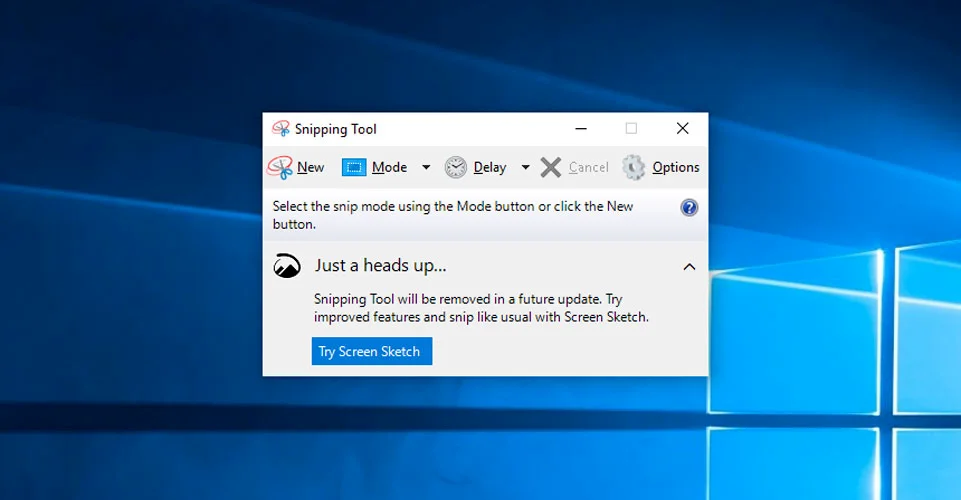
How to Take Screenshot with Snipping Tool in Windows 8
– Search for “Snipping Tool” from the Start Screen or Charms bar. You can also press Windows Key + Q and search.
– Click New, then click and drag to select a rectangular area to capture. Or click the drop-down arrow next to New to choose free-form, window, or full-screen snips.
– You can also use Ctrl + Print Screen after opening the Snipping Tool to capture with a delay.
How to Take Screenshot with Snipping Tool in Windows 10
– Search for “Snip & Sketch” from the Start Menu. Or use the Windows Key + Shift + S keyboard shortcut.
– Select the type of snip from the toolbar – rectangular, freeform, window, or full-screen. Click and drag to capture the area.
– The screenshot will save to your clipboard. Click the notification to open it in Snip & Sketch to edit.
How to Take Screenshot with Snipping Tool in Windows 11
– Search for “Snipping Tool” or use Windows Key + Shift + S to open the overlay toolbar.
– Choose the desired snip type then click and drag to select the area to capture.
– The screenshot will save to your clipboard. Click the thumbnail preview to open the Snipping Tool to edit.
The Snipping Tool provides a lot of flexibility for capturing screenshots on Windows. It has evolved across versions but works similarly – offering rectangular, freeform, window-based, full-screen snips, and basic image annotation.
Some Other Ways To Take Screenshot
There are a few main ways to take a screenshot using the Snipping Tool in Windows:
1. Rectangular snip:
– Open the Snipping Tool app and click “New”.
– Click and drag to draw a rectangle around the area you want to capture.
– Release the mouse button to take the screenshot.
2. Free-form snip:
– Open the Snipping Tool and click the drop-down menu next to “New”.
– Select “Free-form Snip” from the menu.
– Click and drag to draw a freeform shape around the area to capture.
3. Window snip:
– Open the Snipping Tool and click the drop-down menu next to “New”.
– Select “Window Snip” from the menu.
– Click on the window you want to capture a screenshot of.
4. Full-screen snip:
– Open the Snipping Tool and click the drop-down menu next to “New”.
– Select “Full-screen Snip” to take a screenshot of the entire screen.
You can also use keyboard shortcuts like Windows Key + Shift + S to open the snipping toolbar and select the desired snip type. The Snipping Tool allows capturing screenshots in various ways of specific parts of your screen or entire windows.
Benefits of Using Snipping Tool
The Snipping Tool is a built-in Windows application that provides a quick and easy way to take customizable screenshots. One major benefit is that it allows capturing specific parts of your screen instead of your whole display. You can select a rectangular area, freeform shape, a window, or your entire screen to snip. This flexibility saves time compared to taking a full screenshot and cropping later.
Another advantage of the Snipping Tool is the ability to annotate and edit screenshots. You can add text, arrows, highlights, and more to call attention to important details. This is useful for creating tutorials, documentation, reports, presentations, and more. The editing features allow customizing images to suit your needs before saving or sharing.
Additionally, the Snipping Tool has options to save snips to your clipboard or local files, print directly, or email to others. The ability to instantly share through the native app improves productivity. You don’t have to open other programs to send files. This streamlined workflow allows rapid communication and collaboration.
Final Words
Finally, being built into Windows means easy accessibility and no extra software downloads required. And it works consistently across Windows versions. With its versatility, customization, and sharing capabilities, the Snipping Tool is invaluable for both personal and professional tasks.
Also Read: Using QR Codes in Your Marketing Campaign: Tips for Maximum Impact